Floored by insulation – An alternative to more damp proofing?
Our little c.1900 terrace had a damp problem like many other terraces and we knew this when we bought it. On investigation we found that the floorboards rested directly onto Victorian tiles, atop scree & earth, leading to the wooden skirting and doors sucking up the water into the plaster. After one stormy afternoon we suddenly realised faint pencil marks on the doors were previous tenants tracking the “wicking”! Our predecessors hadn’t ignored the problem but seemed not to have known the cause – the property has already had two damp proofing injections done over the preceding ~15 years. We were informed by the surveyor and the damp contractors that this work hadn’t alleviated the problem. Could we succeed where others had failed? We started to discover we could hit two birds; cold floors and damp problems, with one well-cast stone.
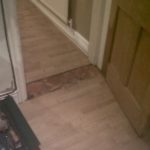
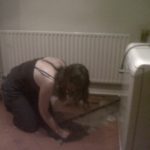
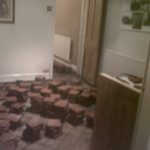
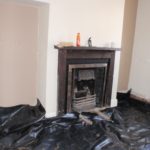
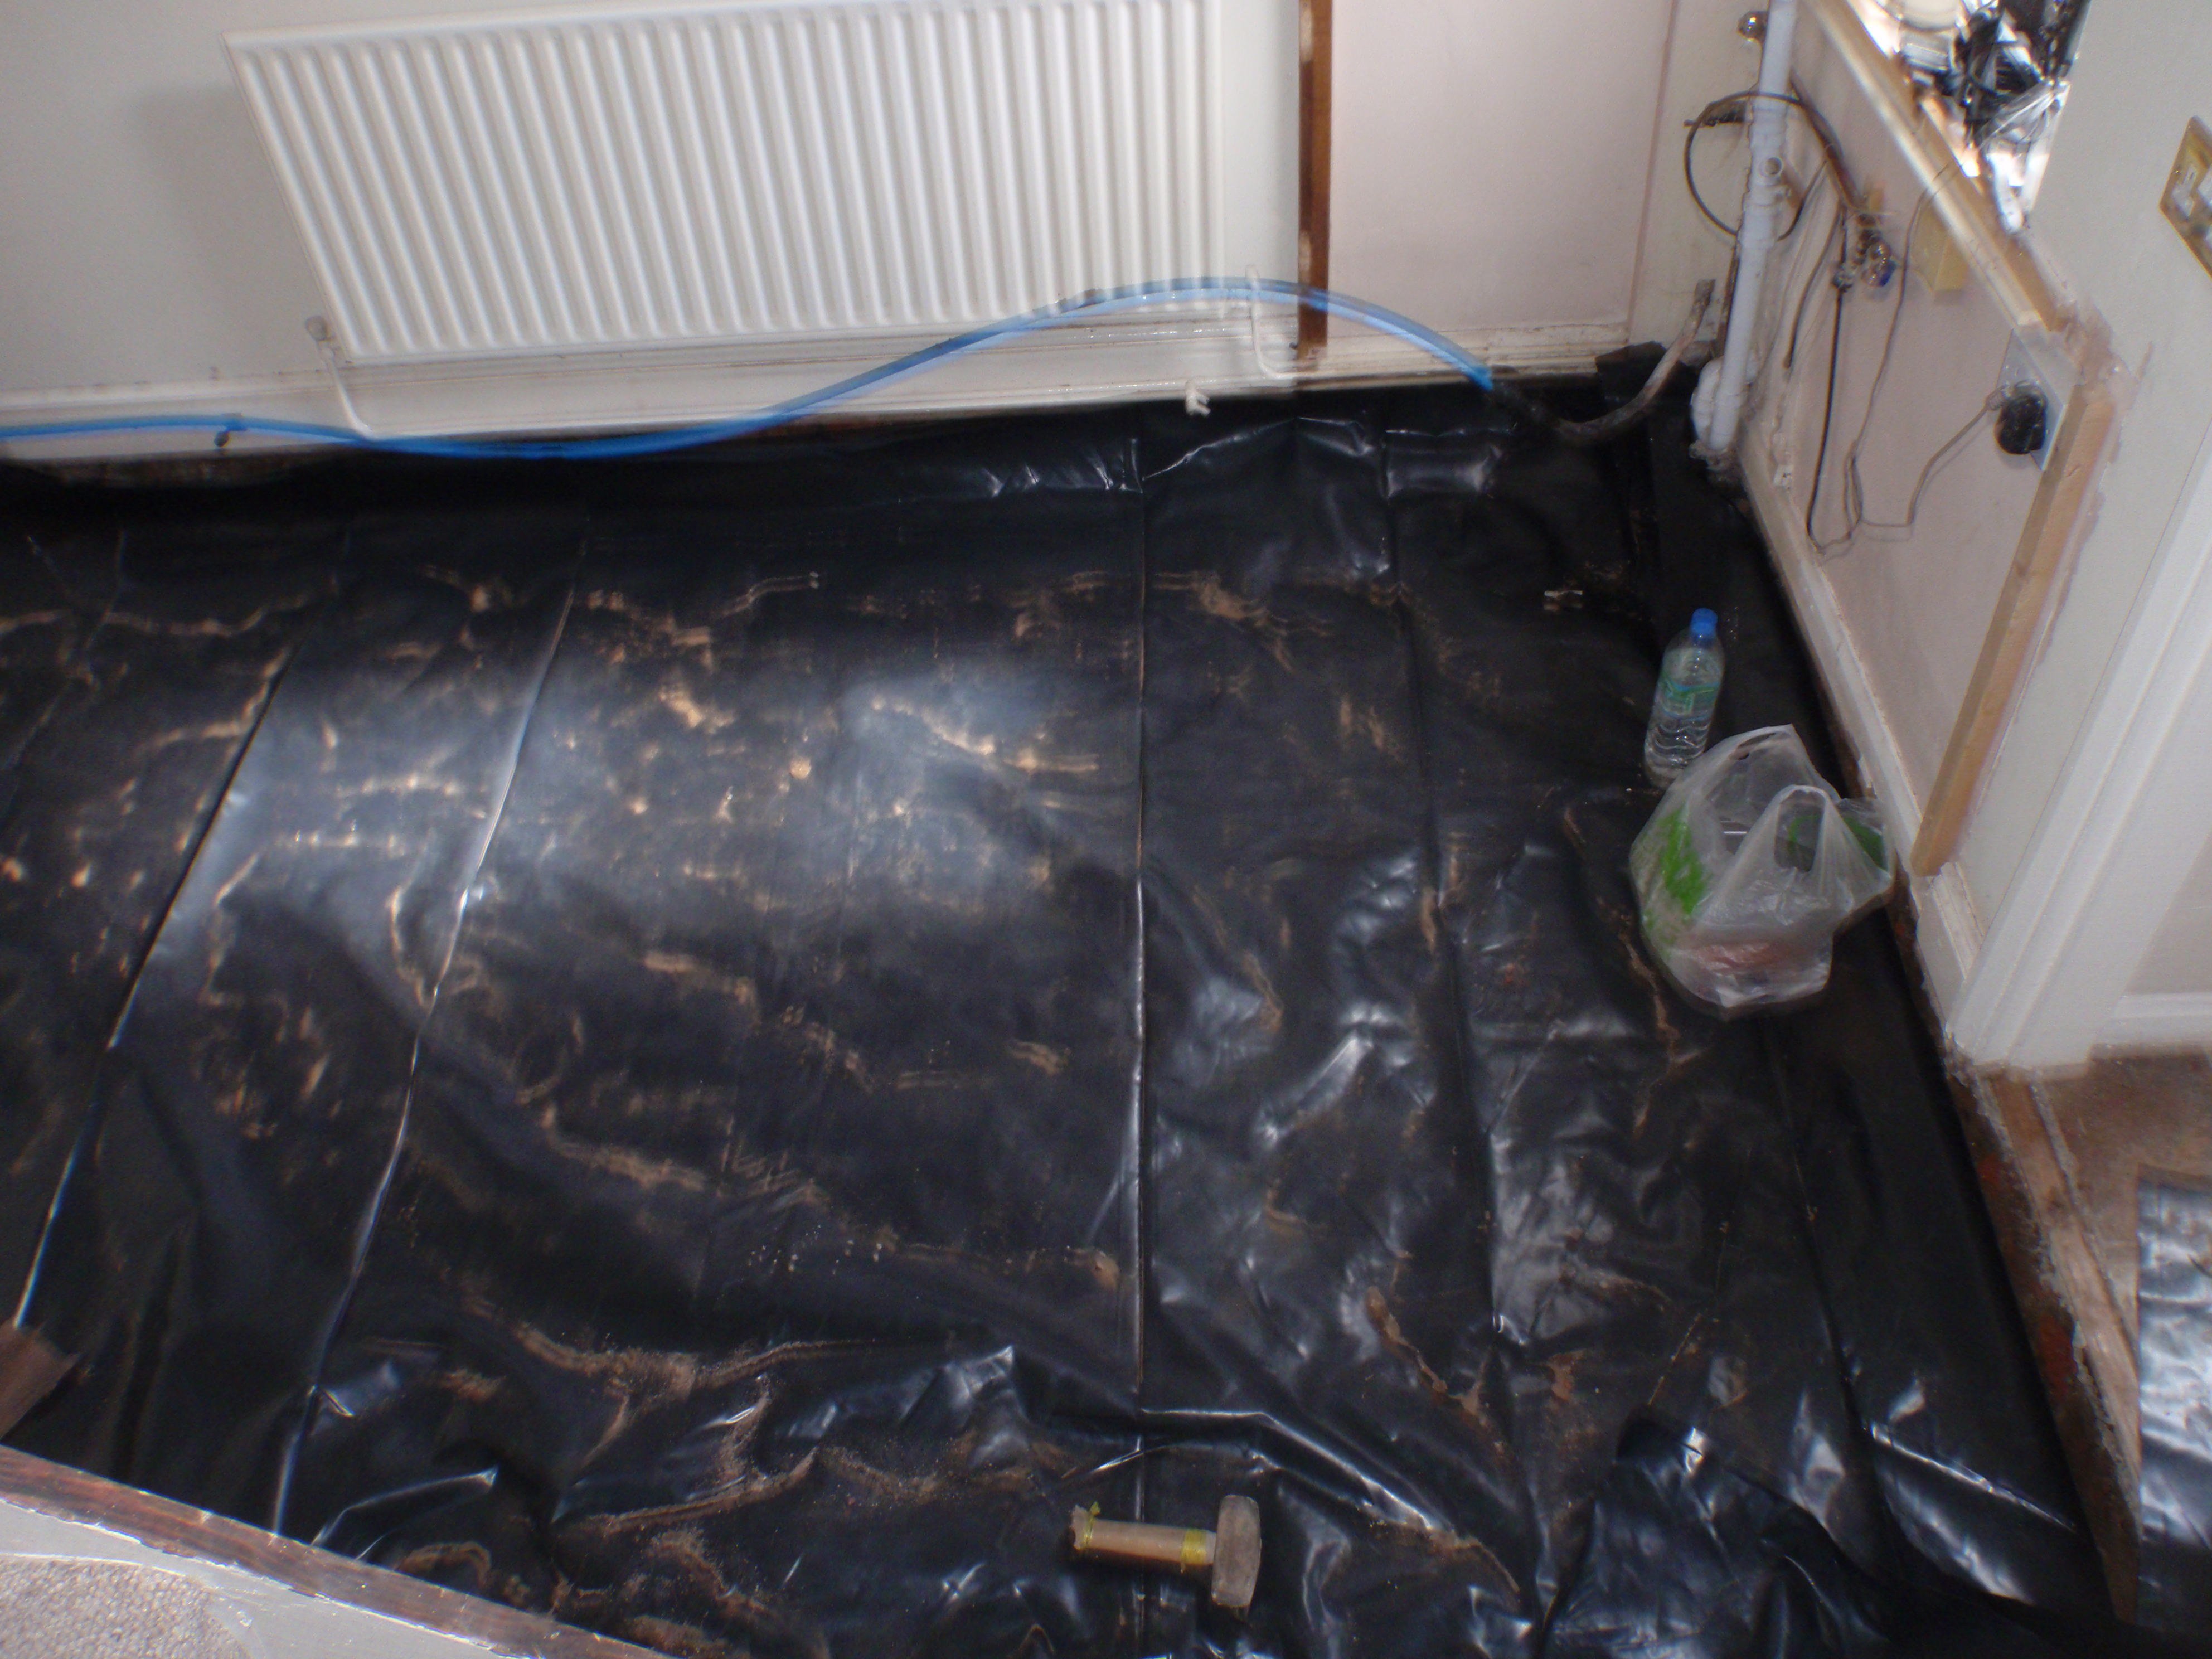
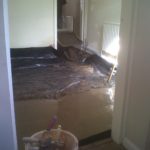
Before – the “damp” floor (laminate on quarry tiles on scree)
Options? – damp proof injections vs. insulated floor with DPM
It seemed from the response from the major “damp” companies that the options were very limited. We would have to spend ~£1-3k on “damp proof injections” or on stripping back the plaster, coating with damp proofing, and re-plastering. But a manager of a local construction company (York Eco Construction) offered something quite different, and it seemed to tick all the boxes. He suggested we dug out the floor, lay a damp proof membrane (DPM) to make a barrier from the wet earth, with a concrete slab on top and finally a joisted and heavily insulated floor for a similar cost to the injection option. Considering the similarities in cost, it was really a no brainer for us to go for his suggestion as it tackled the root cause of the damp, and would get rid of a major heat loss path in the house.
Getting stuck in
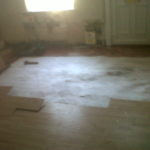
It was a pretty intensive few weeks, with full days at work then evenings and weekends doing the renovation. We took up the tiles and laminate (photos below). This was partly to keep on a tight budget, but there are worse ways to spend an evening than levering tiles up with a knife in one hand, and clutching a glass of wine in the other! The original Victorian quarry tiles were stacked outside and are going to be used later in the project when we do the backyard/bike shed. They’re far too pretty not to reuse. With the floor now stripped back to rubble and dirt, it was time for some serious digging.

Drawing the line – getting contractors in
We had always known that with our zero level of experience, we would be calling people in for certain jobs. Also with such a lot of soil to move we simply didn’t have enough time or energy to fit in digging around work. Moving the few tonnes of scree and fitting the damp-proof membrane (DPM) were perfect examples of these get-the-experts in kind of jobs.
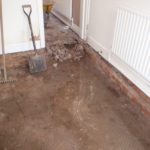
The contractors dug out the floor exposing the expected but still alarming lack of foundations in the property! Like many of the chocolate workers’ terraces in York, the house were built just resting on a ”brick footing” – see photo below, & UWE description.
Due to a mishap with the rising spur, for a brief period our beautiful house resembled a muddy puddle and it was hard to believe a warm wooden floor could materialise there. But soon 100mm depth of concrete was poured on the damp proof membrane (DPM) by the contractors, which was left to dry for what seemed ages as we lived with all the furniture in the two upstairs rooms!

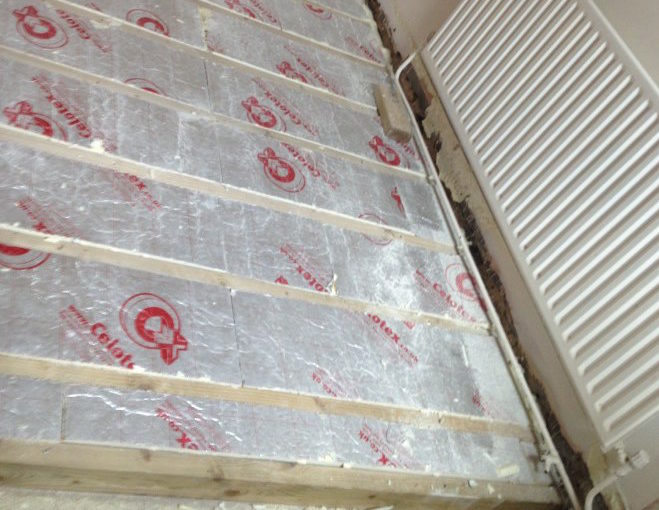
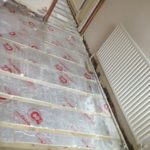
Insulating the floor – the important bit!
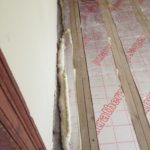
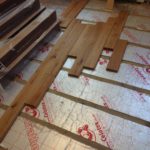
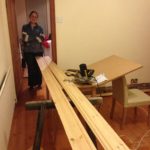
We didn’t want to scrimp here so we went for the established insulation boards due to a trade-off of insulation vs. space vs. cost. There’s much discussion to be had here of thermal resistance (R-values) and overall values (U-values) but I will cover that in a more technical post. The joists (2×4″) & insulation (100mm Celotex) were laid on top of this and dutifully sealed into place by the contractors with insulation foam: a very important factor in making insulation work is consistency! Then the floorboards (18mm solid wood, FSC) were laid atop.
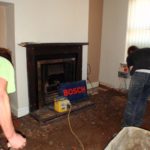
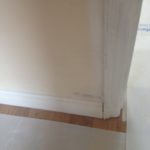
Finishing the aesthetics
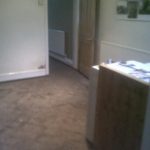
Now it was time for finishing touches of paint, skirting boards… This “making good” was done by a mixture of us and contractors. We had some complexity with a water leak, so some of the work had to be re-done (which is at least another blog post in itself!). Some parts were a nightmare – like straight skirting boards on our curving ~115 year old walls! – and other parts like painting were great fun! We learned most things as we were going along, with one unexpected little trick we’ll uses with any project from now on is the usefulness of panel pins (e.g. holding skirting boards in together, allowing gluing, or cabinets together before the main screws go in).

This part of the project was a massive job.The work ended up being done by a mixture of contractors & us, which made for an interesting first big project! I believe eco-living means cosy living – and no cold floors & houses that aren’t damp – so us properly doing the floor insulation was a crucial part of the renovation. All-in-all it was probably the 2nd most worthwhile part of project (after the PVs), and one of the most noticeable day-to-day changes as you notice the warm boards under your feet.
links/references
- York Eco Construction – contractors for part of the work (DPM, dig out)
- Rainbow international (york) – Fantastic contractors (drying concrete, diagnosing damp problems), we would recommend them.
- UK Flooring direct – FSC wood flooring
- U-Values – RIBA explanation
- Foundations – UWE description of foundation types